Showing posts with label frosting. Show all posts

Saturday, January 8, 2011

Rainbow Cake


This is not an original idea. I've seen at least 4 rainbow cakes out in the blogosphere, and even some rainbow cupcakes. But what I discovered in my attempt was that it's actually quite easy to have this cake come out beautifully and exactly like you wanted. Other cakes? Not always.

The cake recipe you use is not really important. I used this one. I wish there had been a little more batter, actually, then I might have had enough to do the purple layer.

2 sticks butter, room temp
2 1/3 c sugar
5 egg whites, room temp
2 teaspoons vanilla
3 c cake flour
4 tsp baking powder
½ tsp salt
1 1/2 c milk or almond milk
Red, orange, yellow, green, blue (and purple) food coloring*
buttercream frosting
1 cup coconut

* I suggest using gel food coloring for all colors but the yellow and green; regular grocery store food coloring works fine for yellow and green. Gel food coloring is much more dramatic and vibrant, and the red, orange, blue (and purple) need to be vibrant.


1) Oil and line how ever many 9” cake pans you have. (Guess how many I had? None. I had one 10" springform cheesecake pan. Guess how many hours it took to make this cake? Six. In hindsight, it would have been more efficient to drive to the store and buy cake pans.)

2) Sift together the flour, baking powder and salt. Set aside.

3) Cream the sugar and butter, then add the egg whites. Add the vanilla and mix until fully incorporated. Then, alternating between wet and dry, add the milk and flour mixture.

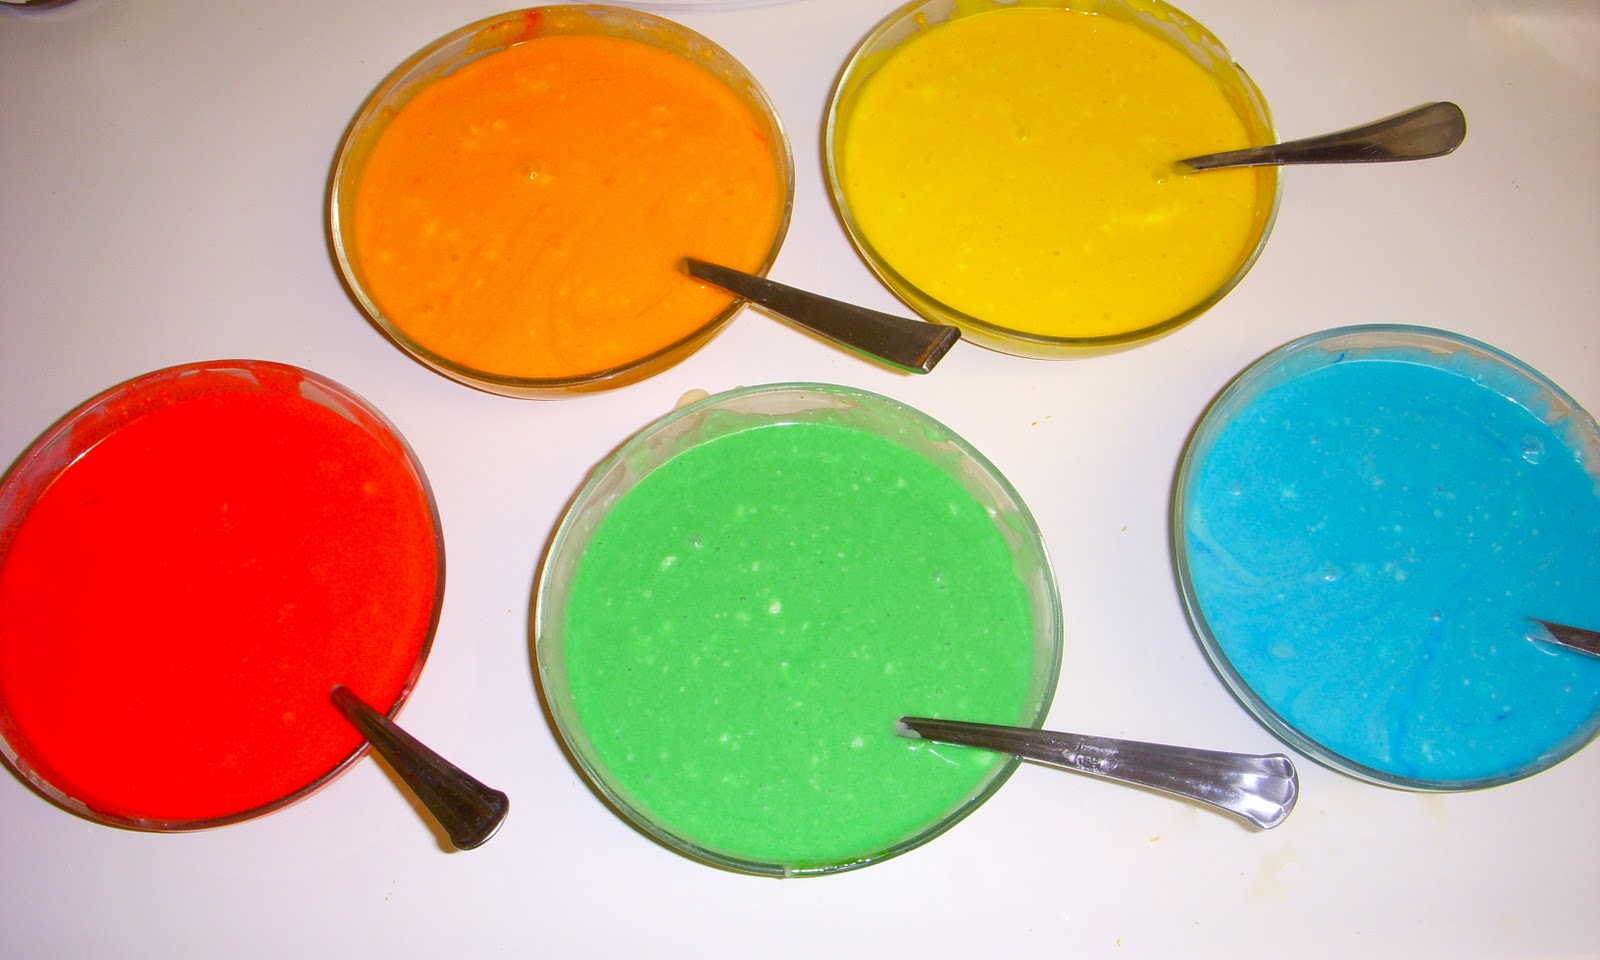
4) Preheat oven to 350. Divide the batter amongst 5 or 6 bowls.

5) Mixing each bowl individually, add small amounts of food coloring until the desired shade is reached. The bowl you dye red will need a lot of dye; orange, yellow, and green, not very much. I was surprised by how little blue was needed to create that dramatic sky blue. A little gel dye goes a long way!

6) Pour into the pans and bake for 15 minutes each. Now is a good time to start preparing your buttercream frosting.

7) Now the fun begins! After each cake has cooled for a few minutes, turn out onto parchment paper.
 8) Layer and frost your cake in rainbow order.

 I put a small layer of lemon curd on top of the yellow layer for extra flavor. Yum!
 9) Crumb coat the cake.
10) Add coconut and any other decorations
 11) Chill until serving.

Monday, January 3, 2011

Decadent Chocolate Cake (Baby Shower Edition)


My Cousin "Alice" is having a baby boy in a few months! We're very excited -- this is great-grandchild number two for my grandma, and also the second boy. I guess it will be my job to have the first girl. But I'm in no rush -- I'm going to wait until I'm a licensed therapist to have children. 

The composition of this cake was quite a journey. I started by making the gum paste flowers several weeks ahead (during nap time at work, actually). Gum paste flowers make a mediocre cake look great, and a great cake look amazing. If you want to do things the hard way, make them yourself (although I suggest taking a class or REALLY researching how to do them), or you can buy them for way less trouble at many cake supply stores.


Next came the actual cake part, which I made two days ahead. I used an Epicurious recipe. Please note I doubled the recipe from what is listed below because I was using an extra-large cake pan (so my cake is twice as large as the recipe that follows).
  • 4 ounces unsweetened chocolate
  • 1/2 cup hot water
  • 1 3/4 cups cake flour
  • 1 teaspoon baking soda
  • 1/2 teaspoon salt
  • 1/2 cup (1 stick) unsalted butter, room temperature
  • 1 3/4 cups sugar
  • 3 large eggs, room temperature
  • 1 teaspoon vanilla extract
  • 2/3 cup whole milk
  • optional: 3 Heath Bars (toffee) broken and ground into small pieces
1) Mix the chocolate and water in a small saucepan over low heat. Stir frequently.
2) Preheat oven to 350. Cut 2 circles out of parchment paper. Grease 2 cake pans (or one large one). Place parchment paper at bottom and grease again.
3) When chocolate is creamy, remove from heat. Stir occasionally.
4) Combine flour, baking soda and salt.
5) Beat butter until it is smooth and fluffy. Add sugar gradually. Add eggs one at a time. Add vanilla.
6) Add the flour mixture gradually, stirring well.
7) Add the milk and chocolate.

8) Pour into cake pans.
9) Bake at 350 until the sides of the cake begin to pull away from the pan, about 35 minutes. Test with knife.

I let the cakes sit (covered) overnight, but you don't have to. They only need to be cool before you ice them, about 2 hours.

10) Prepare your  buttercream frosting.

The food coloring is Wilton Sky Blue (just a dab, or it will be too dark). I made half a batch, but I would actually suggest a full batch.

11) Frost the top of the bottom layer of your cake.
12) Break and chop your heath bars, if using. Sprinkle on top of the frosting.
13) Frost the bottom of the top cake layer.
14) Place the top layer of the cake on the bottom. This will "sandwich" the heath bar crumbs in frosting.
 15) Crumb coat your cake. Even if you using fondant, cover the whole cake.
16) Decorate as desired. You're done!
Looks like a giant It's-It!
I partially crumb-coating my cake, knowing the fondant would be covering the top. I should have completely crumb-coated the cake, as the fondant would have been smoother. Lesson learned.

Disclaimer: I had never before made or worked with fondant, so it came out a little lumpy, and too sweet in my opinion. Next time I will use half the sugar and substitute fine cake flour for the other half of the sugar. I used cake flour instead of powdered sugar when I was rolling it, and it worked fantastically. I also used almond extract instead of vanilla, to give it a marzipan-like flavor. Here is my fondant recipe, although there are many others out there:

1 cup light corn syrup
1 cup shortening
1/2 teaspoon salt
1/2 teaspoon almond extract or clear vanilla extract
1 pound powdered sugar
3 cups cake flour plus a lot extra for rolling
food coloring as desired

1) Combine corn syrup and shortening in a mixer with the dough hook attachment. Blend together, scraping down sides of bowl with a spatula. This will be much harder to make without a mixer.
2) Add salt and almond extract.
3) Add sugar and cake flour gradually until a thick dough forms. Thicker than this:
4) If you want to make a little decoration using white fondant (such as the onesie on top of this cake), take a small amount of dough out now.
5) Coat your hands in a small amount of shortening. The shortening prevents the color from soaking into your hands. Nifty, eh? Remove dough from bowl. Add a tiny amount of food coloring and knead with hands. A little goes a long way. Mine was a little more ELECTRIC than I would have liked.


7) Place your fondant on a cake-floured or powdered-sugared surface.
8) Roll it out to about 1/4 inch thick.
9) For best results, follow these instructions for applying your fondant.

Cousin "Alice" with her cake. You can't see the baby bump, but it's definitely there! I guess that cake is just enormous.

Tuesday, December 21, 2010

Marbled Royal Icing

This beautiful icing technique looks difficult, but was easy enough for my Girl Scout Troop when I was nine. I know you can do it too!

The most important thing is to get your frosting the right consistency. Once you have that down, the creative part begins (also known as the part you can't mess up.)
Use any Royal Icing recipe. Here's the one I used:

2 lbs (1 large bag) powdered sugar
3 T meringue powder
7 T cold water
food coloring as desired

You will need:

a standing or handheld mixer
icing bags or ziplock bags
a butterknife
toothpicks


1) Combine frosting ingredients together and mix for about 5 minutes on medium. At this point, when you lift the beater up, a string of frosting will fall on top of the rest of the icing, remain at the surface momentarily, and then be reabsorbed.

2) Place 2/3 of white frosting in a decorating bag or ziplock.
3) Color remaining icing as desired. As you can see from the pictures below, you need more red food coloring than I had to make red. But pink is pretty too!


4) Prepare your decorating area.
5) Outline each shape with a line of white frosting. Fill it in.
6) Draw thin lines of colored frosting across the cookie.


7) Using a toothpick or something similar, drag lightly perpendicular to the colored frosting lines.
8) Repeat dragging toothpick alternating "up" and "down" strokes. You look like a frosting genius!

Sunday, November 14, 2010

Bananas Foster Bread


I love banana bread. This is a tasty variation, with my own twist, courtesy of Cooking Light. Enjoy!
  • 1 1/2  cups mashed ripe banana (about 2)
  • 1 cup packed brown sugar, divided
  • 6  tablespoons butter, melted and divided
  • 1/4  cup cognac, dark rum, or brandy divided
  • 1/3 cup plain fat-free yogurt or buttermilk (or buttermilk substitute*)
  • 2  large eggs
  • 1 1/2 cups all-purpose flour
  • 3/4 teaspoon baking soda
  • 1/2 teaspoon salt
  • 1/2  teaspoon  ground cinnamon
  • 1/4 teaspoon nutmeg
  • 1/8  teaspoon  ground allspice
  • Cooking spray
  • 1/3  cup  powdered sugar
1) Mash bananas.
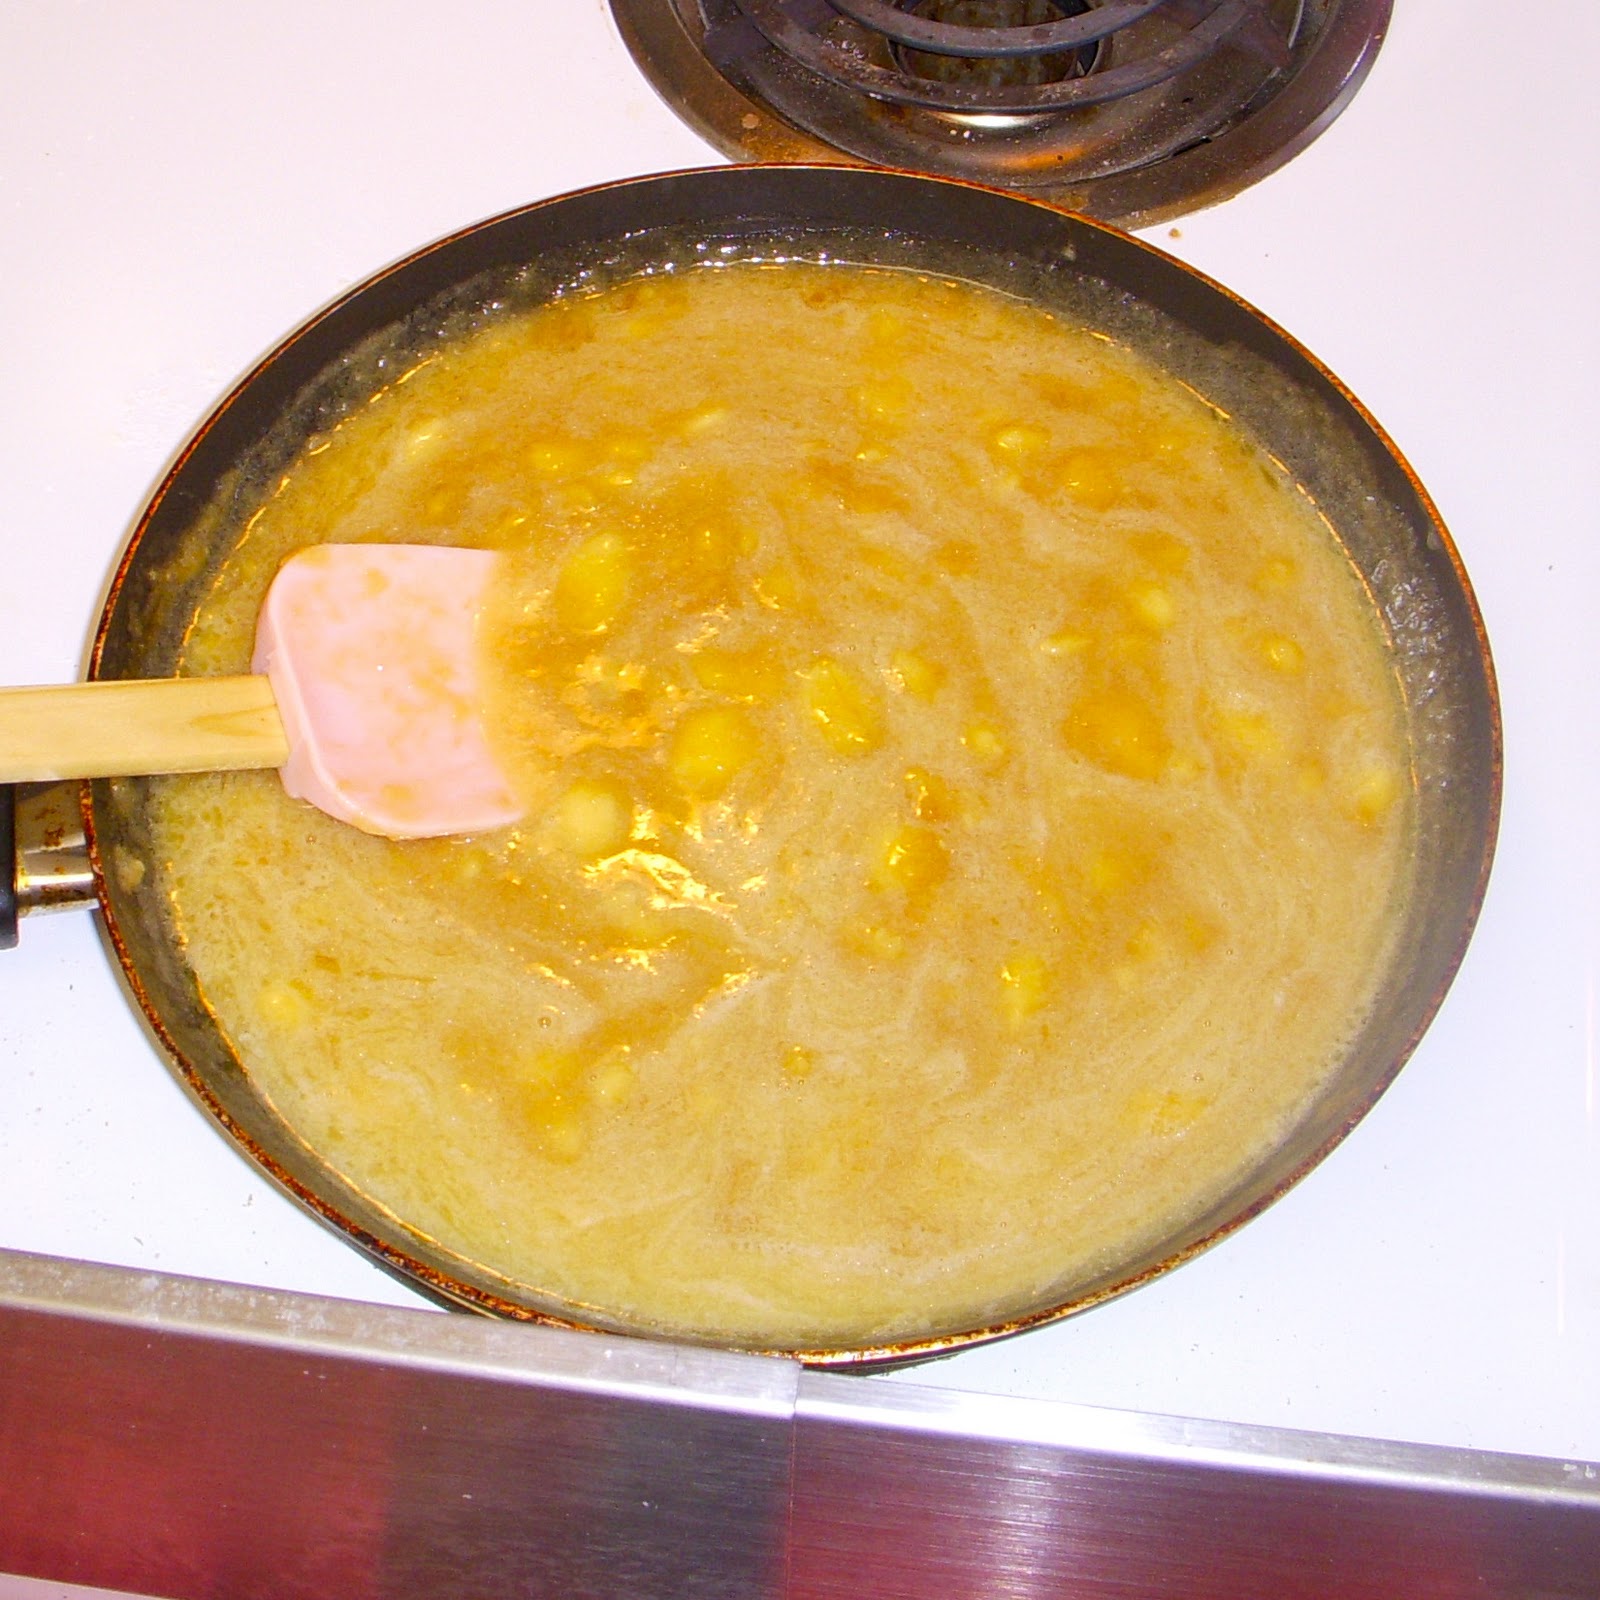
2) Put bananas, half a cup of brown sugar, three tablespoons of alcohol and five tablespoons of butter in a saucepan over medium heat.
3) Mix flour, salt, baking soda and spices in a separate bowl.
4) Stir banana mixture occasionally until butter is melted and mixture begins to bubble.
 5) Pour banana mixture into bowl. Add eggs, remaining sugar, and yogurt.
6) Add gradually to wet ingredients
7) Pour into loaf pan.
8) Bake for 50 minutes or until a knife comes out clean.
9) Remove from oven and allow to cool.
10) Melt remaining tablespoon of butter in a microwave-safe cup. Add a tablespoon of cognac/rum/brandy and 1/3 cup powdered sugar. Pour over warm bread.


Monday, November 8, 2010

Buttercream Frosting


Recipe courtesy of Epicurious.

This makes a LOT of frosting, so you might consider making half if you're icing one cake or one batch of cookies.
  • 4 large egg whites at room temperature for 30 minutes
  • Rounded 1/4 teaspoon salt
  • 2/3 cup water
  • 1 1/3 cups plus 2 tablespoons sugar
  • food coloring (optional)
  • 4 sticks (2 cups) unsalted butter, cut into tablespoon pieces and softened
  • 2 teaspoons vanilla
  • a candy thermometer


1) Combine whites and salt in a large bowl (your mixer if you have one). 

2) Stir together water and 1 1/3 cups sugar in a 3- to 4-quart saucepan until sugar is dissolved, then bring to a boil over medium heat, without stirring. 

3) When syrup reaches a boil, start beating egg whites with an electric mixer at medium-high speed until frothy (see below for example).

4) Add remaining 2 tablespoons sugar and beat at medium speed until whites just hold soft peaks. (Do not beat again until sugar syrup is ready.) 


5) Put thermometer into sugar syrup and continue boiling until syrup registers 238 to 242°F. Immediately remove from heat and, with mixer at high speed, slowly pour hot syrup in a thin stream into whites, beating constantly. 

6) Beat until meringue is cool to the touch, about 10 minutes in a standing mixer or 15 with a handheld. (It is important that meringue is properly cooled before proceeding.)

 7) This is the time to add food coloring if you are going to. 

8) With mixer at medium speed, gradually add butter 1 piece at a time. (Buttercream will look soupy after some butter is added if meringue is still warm. If so, briefly chill bottom of bowl in a bowl of ice water for a few seconds before continuing to beat in remaining butter.) 

9) Continue beating until buttercream is smooth. (Mixture may look curdled before all of butter is added but will come back together by the time beating is finished.) Add vanilla and beat 1 minute more.
 
10) Frost your cake, cupcakes, cookies. Place in refrigerator for half an hour to set frosting before serving.
You can refrigerate what you don't use for a week, or freeze it for a month. Just be sure to bring it to room temperature (without a microwave) before applying it.